


Knowing how to list things is one of a web developer's most crucial tasks because it is one of the things he will be doing most frequently. You will need to list shopping products, student numbers, test results, and other information, so you should be familiar with the various HTML list features and how to construct lists using CSS.
Though it's very simple to learn, lists are one of the most crucial HTML features used in web development. However, you must be extremely careful and know how to work around them. You will learn everything there is to know about HTML listing components in this tutorial, including their features, styling, and how to utilize them to make attractive lists. I sincerely hope you can use it.
So let's dive in.
HTML LISTS
There are two different kinds of lists in HTML: I
Ordered lists
Unordered lists.
Ordered List
An ordered list is a form of list that uses a variety of symbols to denote a series of objects, including numbers, letters, roman numerals, and more. One can start an ordered list with 1, 2, 3, or A, B, C, and so on.
The <ol> tag must be used to build an ordered list in order to list things in an ordered list in HTML. The term "ordered list" is denoted by the ol in the tag. We must define the list items within each of the ordered list elements (<ol> and </ol>). The<li> tag can be used to specify the list items.
<ol>
  <li>Wake up</li>
  <li>Say A Prayer</li>
  <li>Hustle</li>
</ol>
The preview is shown below;

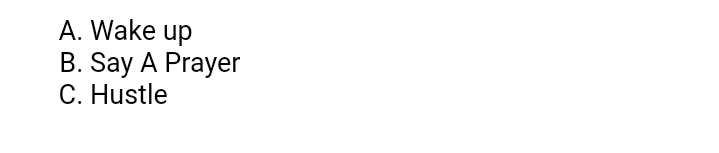
As you can see, the example above lists the items using numbers, but what if you want to list your items using a different letter or anything else? You can list your objects in HTML in a variety of ways, using whatever letter or number you like. The ideal approach to do this is to use the "type" attribute with the ordered list if you wish to list your items using the English alphabet, either in capital letters or small letters, such as A, B, C, D or a, b, c, d, and so on (ol).
For example,
<ol type="A">
<li>Wake up</li>
  <li>Say A Prayer</li>
  <li>Hustle</li>
</ol>
The output is shown below;
Similar to this, you can list elements beginning with a, b, c, and so on by using lower case letters like an as the type value.
<ol type="a">
  <li>Wake up</li>
  <li>Say A Prayer</li>
  <li>Hustle</li>
</ol>

Use the value I for an ordered list with Roman numerals if you want to use them.
<ol type="I">
  <li>Wake up</li>
  <li>Say A Prayer</li>
  <li>Hustle</li>
</ol>
The output of the above is shown below;

One of the most intriguing features of an HTML ordered list is the ability to give a starting number other than 1, which is the default. By specifying a starting number other than 1, such as 13, we can override the default starting point of 1.
We can do this by using the <start> value in the <ol> tag.
Example;
<ol start="13">
  <li>Wake up</li>
  <li>Say A Prayer</li>
  <li>Hustle</li>
</ol>
The output is shown below;

We can also use the ordered list for links , it can be used to list link items on any page.
<div>
  <ol>
    <li>
      <a href="https://hashnode.com/" target="_blank">Hashnode</a>
    </li>
    <li>
      <a href="https://muhakeem.hashnode.dev/" target="_blank">MUHAKEEM</a>
    </li>
    <li>
      <a href="https://earnnairanow.com/" target="_blank">EARN NAIRA</a>
    </li>
  </ol>
</div>

The rendered order of the list elements is reversed when we use the reversed attribute on an ordered list, while we can also use it on unordered lists. Specifically, going from highest to lowest.
<ol reversed>
<li>Wake up</li>
  <li>Say A Prayer</li>
  <li>Hustle</li>
</ol>

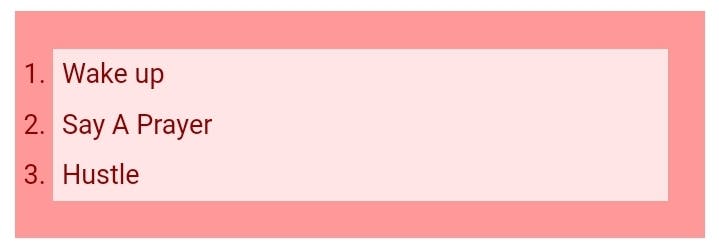
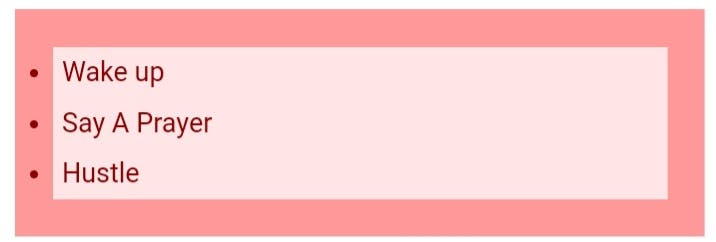
We can also style our HTML Ordered lists with CSS
Look at the example below;
<style>
ol {
  background: #ff9999;
  padding: 20px;
}

ol li {
  background: #ffe5e5;
  color: darkred;
  padding: 5px;
}

<ol>
  <li>Wake up</li>
  <li>Say A Prayer</li>
  <li>Hustle</li>
</ol>
The output of the code above is shown below;
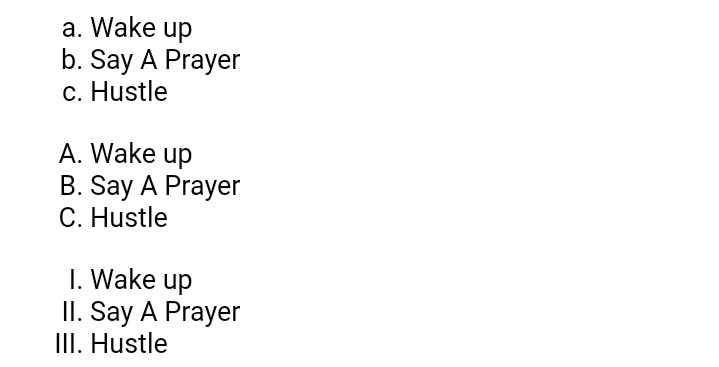
We can also specified each list with different "class" attribute for example
<style>
ol.A {
  list-style-type: lower-alpha;
}

ol.I {
  list-style-type: upper-alpha;
}

ol.c {
  list-style-type: upper-roman;
}

</style>
<title></title>
</head>
<body>
<ol class="A">
<li>Wake up</li>
  <li>Say A Prayer</li>
  <li>Hustle</li>
</ol>

<ol class="I">
<li>Wake up</li>
  <li>Say A Prayer</li>
  <li>Hustle</li>
</ol>
<ol class="c">
<li>Wake up</li>
  <li>Say A Prayer</li>
  <li>Hustle</li>
</ol>
We can also remove the default list of an ordered list in CSS using the same class attribute we used above but in this we are going to use the <list-style-type> attribute and set to none when writing our CSS code.
<style>
ol.A {
  list-style-type: lower-alpha;
  list-style-type: none
  margin: none
  padding:none
}
</style>
<ol class="A">
<li>Wake up</li>
  <li>Say A Prayer</li>
  <li>Hustle</li>
</ol>

We can remove the margin and padding above and set both to none.
Unordered List
We have now finished discussing ordered lists, therefore let's move on to unordered lists. An unordered list is created with the <ul> tag. As usual, the list items must be created using the li> tags within the ul> and <ul/> tags.
Each list item is preceded by a black dot because the unordered list's <ul> list items <li> use the standard bullet point style.
For example,
<ol>
  <li>Wake up</li>
  <li>Say A Prayer</li>
  <li>Hustle</li>
</ol>

As used in ordered list above , we can also used unordered list to list all our link items as shown below;
<div>
  <ul>
    <li>
      <a href="https://hashnode.com/" target="_blank">Hashnode</a>
    </li>
    <li>
      <a href="https://muhakeem.hashnode.dev/" target="_blank">MUHAKEEM</a>
    </li>
    <li>
      <a href="https://earnnairanow.com/" target="_blank">EARN NAIRA</a>
    </li>
  </ul>
</div>

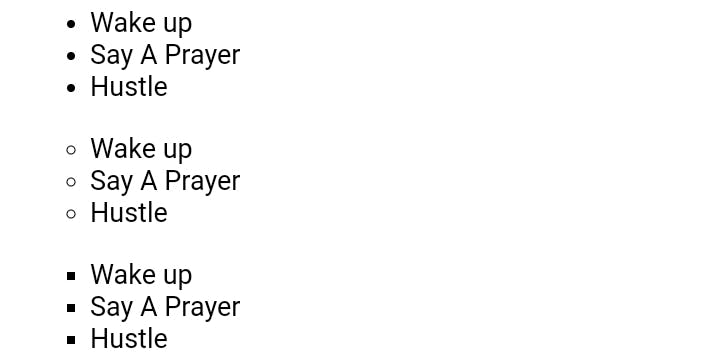
As we customize the ordered list we can also customize the unordered list using the CSS property of <list-style>, there are four different values for this list style property, and they are listed below;
• Default : the bullet points.
• Circle : circular bullet
• disc:
• Square: squared like bullet
<style>
ul.A {
  list-style-type: disc;
}

ul.I {
  list-style-type: circle;
}

ul.c {
  list-style-type: square;
}

</style>
<title></title>
</head>
<body>
<ul class="A">
<li>Wake up</li>
  <li>Say A Prayer</li>
  <li>Hustle</li>
</ul>

<ul class="I">
<li>Wake up</li>
  <li>Say A Prayer</li>
  <li>Hustle</li>
</ul>
<ul class="c">
<li>Wake up</li>
  <li>Say A Prayer</li>
  <li>Hustle</li>
</ul>

</body>
We can also customize by using the CSS Property.
<style>
ul {
  background: #ff9999;
  padding: 20px;
}

ul li {
  background: #ffe5e5;
  color: darkred;
  padding: 5px;
}
</style>
</head>

<ul>
  <li>Wake up</li>
  <li>Say A Prayer</li>
  <li>Hustle</li>
</ul>
HOW TO CUSTOMIZE THE HOME PAGE USING LIST
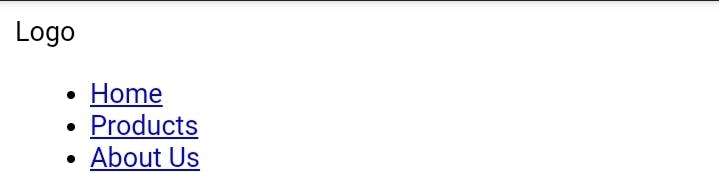
How to use lists to create menus and put them to the header area of your website is one of the most crucial things you need to understand when working with lists in both HTML and CSS.
Here, we'll use the example below to demonstrate how to do this.
<nav>
  <span class="logo">Logo</span>

  <ul>
    <li><a href="#/home">Home</a></li>
    <li><a href="#/products">Products</a></li>
    <li><a href="#/about">About Us</a></li>
  </ul>
</nav>
The output will be like this;
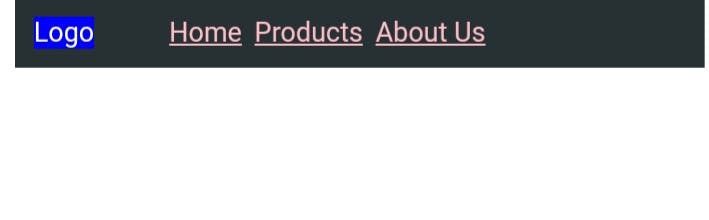
We can also customize this using CSS to make it more responsive and eye catchy.
<style>
nav{
  background-color: #273032;
  color: #FFF;
  padding: 10px;
  display: flex;
}

.logo {
  background-color: blue
}

ul {
  margin: 0px;
}

li {
  list-style: none;
  display: inline;
  margin-right: 0.2rem;
}

a {
  color: pink;
}
</style>

<nav>
  <span class="logo">Logo</span>

  <ul>
    <li><a href="#/home">Home</a></li>
    <li><a href="#/products">Products</a></li>
    <li><a href="#/about">About Us</a></li>
  </ul>
</nav>
The output is shown below;
Description List
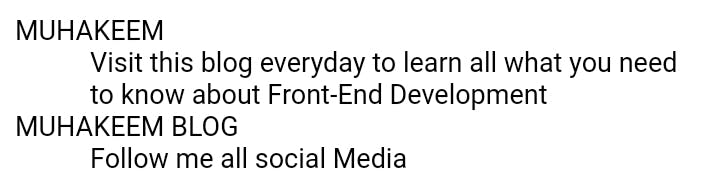
Several terms and descriptions may be listed in a description list, one after the other. A description list may also contain more than one term per description and more than one description per word. A single term may have several meanings, each of which calls for a different description. On the other hand, a single description might work for a number of terms. The dt> element has to come before the dd> element when adding a description list. The arrangement of these components is crucial since the definition term and the description that comes after it are related.
Like the ul> and ol> elements, the dl> element comes with vertical borders by default. The dd> element also comes with a left margin by default.
Let's look at the example below
<dl>
<dt> MUHAKEEM</dt>
<dd>Visit this blog everyday to learn all what you need to know about Front-End Development</dd>
<dt>MUHAKEEM BLOG</dt>
<dd>Follow me all social Media</dd>

</dl>
The output is shown below;
Nesting List
Lists can be nested, which is one aspect that gives them a lot of strength. Each list may be nested inside of every other list indefinitely. However, the ability to indefinitely nest lists does not give you carte blanche to do so. Lists should still only be used in situations when they have the greatest semantic significance.
Knowing where to start and stop each list and list item is a trick with nesting lists. The only element that may be located directly within the ul> and ol> components is the li> element, speaking specifically about unordered and ordered lists since that is where the majority of nesting will take place. To reiterate, we can only add the li element as a direct child of the ul and ol components.
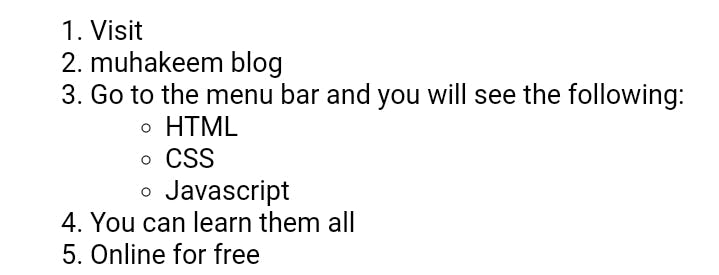
Example;
<ol>
  <li>Visit</li>
  <li>muhakeem blog</li>
  <li>
    Go to the menu bar and you will see the following:
    <ul>
      <li>HTML</li>
      <li>CSS</li>
      <li>Javascript</li>
    </ul>
  </li>
  <li>You can learn them all</li>
  <li>Online for free</li>
</ol>
The output is shown below ;
Conclusion
I appreciate you reading. All OK, bye for now. This article should have been helpful to you in better understanding HTML lists, and I hope you found it to be useful. To learn HTML and CSS from scratch, visit this page.